Adding a User
A user can be added to Aerofiler by entering their name and email address and then clicking "Add":

Bulk Adding Users
You can add multiple users by copying and pasting them from a spreadsheet. For example, suppose your spreadsheet contains the following data:
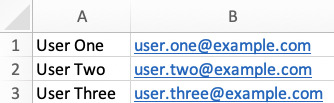
To import the data into Aerofiler, highlight the relevant cells:
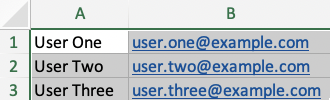
and copy the data. In Aerofiler, click "Bulk Add" and paste your data. Click "Toggle Preview" to view the fields detected by Aerofiler:
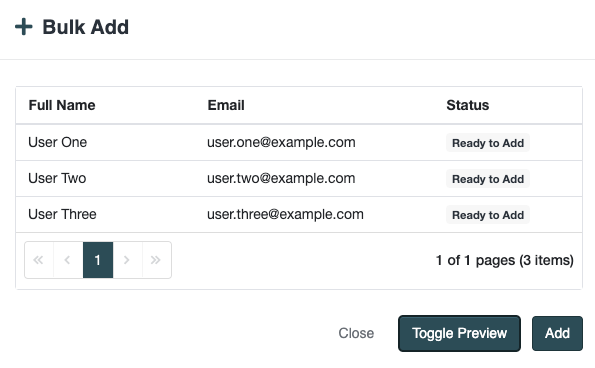
If you need to make any amendments, you can do so by clicking "Toggle Preview". Once the data is correct, click "Add".
Verified Users
Once a user has verified their email address by clicking on the confirmation link, the following icon should appear:

Managing Users
Users can be managed in Aerofiler by clicking Settings -> Organization -> Users. The following options can be configured:
Role
Aerofiler allows you to set the following user roles:
- Admin - these users have access to all functions with the system, including deleting documents and setting permissions
- Edit - these users have the ability to edit document metadata, for example setting counterparty, start date, contract term and relationships between documents
- Read - these users have the ability to view, but not edit, document metadata
- Limited User - users have no access to documents by default. Permissions need to be added using file-level or Document Type permissions
Document Permissions
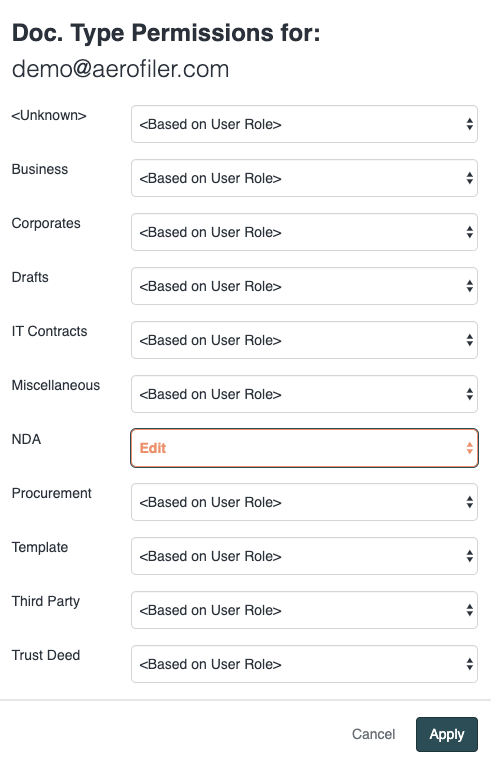
Default role permissions can be overridden by Document Type permissions. Consider the following image for a user with a Read role:
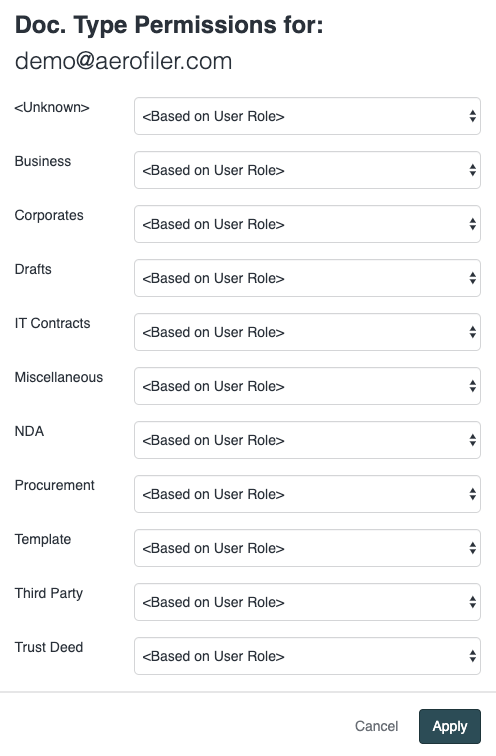
To allow the user to have Edit access to documents of type NDA, you would change the Document Type permission as follows:
Deactivation
Aerofiler provides a deactivation function. To deactivate a user, clicking on the following icon:

and confirm the prompt. Deactivated users will:
- not be able to sign in
- have all reminders deleted
- be removed from all teams
Comments
0 comments
Please sign in to leave a comment.